
Introduction to Fusion 360
Welcome to the world of Fusion 360, Autodesk’s powerful, cloud-based 3D CAD, CAM, and CAE tool. Whether you are a 3D design enthusiast or an engineering student, Fusion 360 offers an all-in-one platform to bring your ideas to life. This tutorial is designed to help beginners get started with Fusion 360, covering everything from creating a new project to building 3D models and assemblies. By the end of this guide, you’ll be well on your way to mastering the basics of this versatile software.
Getting Started with Fusion 360
Creating a New Project
1. Sign Up and Download: Begin by signing up for an Autodesk account if you don’t already have one. Download and install Fusion 360 from the Autodesk website.
2. Launch Fusion 360: Open the application and log in with your Autodesk credentials.
3. Create a New Project: Navigate to the Data Panel on the left side of the screen. Click on the “New Project” button, give your project a name, and hit “Create”.
Understanding the Interface and Tools
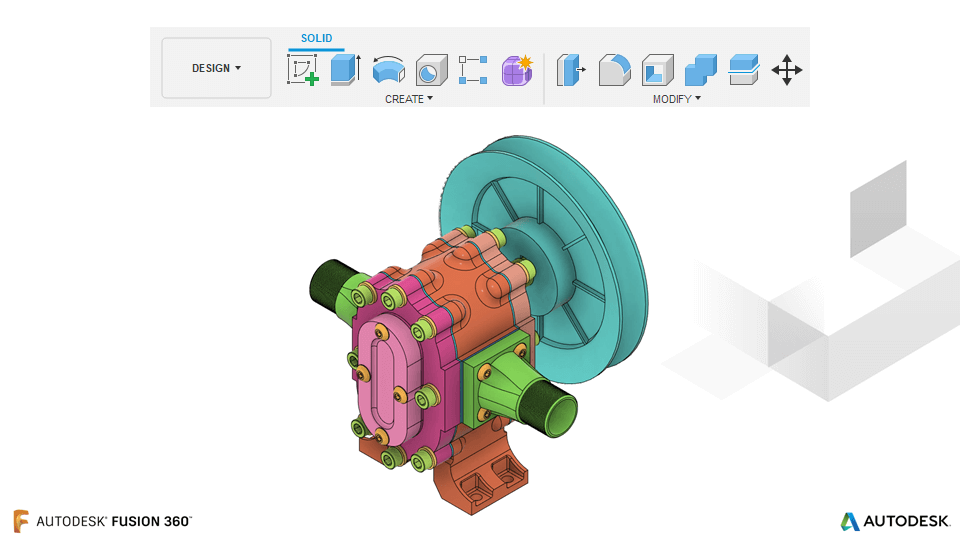
The Fusion 360 interface can be overwhelming at first, but it’s designed to be intuitive once you understand the layout:
1. Toolbar: Located at the top, this contains tools for sketching, modeling, assembling, and more.
2. Browser: On the left, this panel helps you manage your components, sketches, and bodies.
3. Canvas: The central area where your designs appear.
4. Timeline: At the bottom, this tracks your design history, allowing you to go back and make changes at any point.
Basic Sketching Techniques
Lines, Circles, Rectangles, and Polygons
1. Start a Sketch: Click on “Create Sketch” in the toolbar and select the plane you want to sketch on (XY, YZ, or XZ).
2. Draw Lines: Select the “Line” tool from the Sketch dropdown or press “L”. Click to start and end each line segment.
3. Draw Circles: Use the “Circle” tool or press “C”. Click to define the center and drag to set the radius.
4. Draw Rectangles: Choose the “Rectangle” tool or press “R”. Click to define two opposite corners.
5. Draw Polygons: Select the “Polygon” tool. Specify the center and radius, then define the number of sides.
Suggested: Best Procreate Alternatives for Windows 10
Dimensioning and Constraints
1. Dimensioning: Use the “Sketch Dimension” tool from the toolbar or press “D”. Click on a sketch entity to set its dimension.
2. Constraints: Apply geometric constraints (e.g., parallel, perpendicular) to control the relationships between sketch entities. Constraints help maintain the design intent as you make changes.
Building 3D Models
Extruding, Revolving, Sweeping, and Lofting
1. Extrude: Select the profile you want to extrude, click on “Create” > “Extrude”, or press “E”. Specify the distance and direction.
2. Revolve: Use the “Revolve” tool to create objects by revolving a profile around an axis. Select the profile and axis, then specify the angle.
3. Sweep: Create complex shapes by sweeping a profile along a path. Choose the profile and path, then complete the sweep operation.
4. Loft: Connect multiple profiles to create smooth transitions. Select the profiles in the desired order and complete the loft.
Manipulating Objects with Move, Rotate, and Scale Tools
1. Move: Select the body or component, then click “Modify” > “Move”. Use the arrows to translate the object.
2. Rotate: Choose “Modify” > “Move”, then switch to the rotate option. Use the rotation handles to adjust the orientation.
3. Scale: Select the object and click “Modify” > “Scale”. Enter a scaling factor to resize the object proportionally.
Assemblies and Joints
1. Create Components: Start by creating separate components for each part of your assembly. Click “Create” > “New Component”.
2. Assemble Components: Use the “Joint” tool to define how components fit together. Select the faces or edges to join, and specify the type of joint (rigid, revolute, etc.).
3. Test Motion: Once assembled, use the “Animate Joint” feature to test the movement and functionality of your design.
Checkout: (DIY Guide) Creating Your Home-Workspace on a Budget
Generating Drawings from Your Model
After you’ve created your 3D model and assembled the components, the next step is to generate drawings that can be used for documentation, manufacturing, or patent applications.
1. Prepare the Model: Ensure that your model and assembly are fully updated with all features, joints, and annotations correctly applied.
2. Create a New Drawing: Go to “File” > “New Drawing” from the model workspace. Select the type of drawing you need based on your project requirements.
3. Choose Views: In the drawing environment, place the standard views of your model, such as the top, front, and right perspectives. Add any additional views like isometric or section views that may be necessary for a complete understanding of the model.
4. Dimension and Annotate: Using the drawing tools, add dimensions to your views to specify the size, shape, and features of your model. Include annotations, notes, and tolerances to provide further details about material specifications, finish, and assembly instructions.
5. Export or Print: Once your drawing is complete, you can export it in various formats (e.g., PDF, DWG) for sharing with stakeholders or print it directly for use in manufacturing or as part of your documentation package.
This part of the process bridges the gap between digital modeling and real-world application, ensuring that your designs can be accurately and efficiently brought to life.
Expert Tips and Best Practices
1. Utilize Keyboard Shortcuts: Speed up your workflow with keyboard shortcuts. For example, press “S” to open the toolbox, “L” for line, “C” for circle, and “D” for dimension.
2. Understand Parametric Modeling: Design with future changes in mind. Use parameters to create easily modifiable models.
3. Leverage Community Resources: Join the Fusion 360 community to access tutorials, tips, and inspiration. Platforms like YouTube, forums, and Autodesk’s own resources are invaluable.
4. Regularly Save Your Work: Fusion 360 automatically saves your work, but it’s good practice to manually save and use version control to track changes.
5. Practice Good File Management: Organize your projects, components, and sketches logically. Proper file management ensures you can easily find and modify your designs.
Case Studies and Real-World Examples
1. Ergonomic Office Chair Design: A start-up used Fusion 360 to design a new ergonomic office chair. The software’s ability to quickly iterate and test designs using simulations helped them bring their product to market faster.
2. Custom Drone Part: A small engineering firm utilized Fusion 360 to create a custom, lightweight part for a drone. The software’s generative design capabilities and integration with 3D printing were crucial in achieving the desired performance and weight.
3. Solar-Powered Vehicle Project: Students at a community college designed and built a solar-powered vehicle using Fusion 360. The software’s accessibility and comprehensive toolset made it an ideal choice for educational purposes.
Check: Become a Python Developer Step by Step (Beginner’s Guide)
FAQs
Q1. Do I need any prior experience to start learning Fusion 360?
A1. No, beginners can start learning Fusion 360 without any prior experience. The software offers a range of tutorials and resources that cater to all skill levels, making it accessible for newcomers.
Q2. How much does it cost to use Fusion 360 for personal projects?
A2. Autodesk offers a free version of Fusion 360 for hobbyists and personal use, though there are some limitations compared to the paid versions. Check the official Autodesk website for the most current information on licensing and pricing.
Q3. Are there any online communities or forums where I can seek help if I get stuck?
A3. Yes, there are several online communities and forums dedicated to Fusion 360 users. Autodesk’s own forums, Reddit, and YouTube have active communities where users share advice, tutorials, and solutions to common problems.
Q4. How often are new tutorials or updates released for Fusion 360?
A4. Autodesk regularly updates Fusion 360 with new features, improvements, and bug fixes. New tutorials are also frequently added to Autodesk’s learning platforms and community-contributed resources.
Q5. Can I use Fusion 360 on a Mac?
A5. Yes, Fusion 360 is compatible with both Windows and macOS, allowing you to use the software regardless of your operating system.
Q6. Is it necessary to have a powerful computer to run Fusion 360?
A6. While Fusion 360 is optimized to run on a wide range of hardware, having a computer with a sufficient processor, enough RAM, and a decent graphics card will enhance the software’s performance, especially for complex projects.
Conclusion
Fusion 360 is a robust and versatile tool that offers endless possibilities for 3D design enthusiasts and engineering students. By following this step-by-step tutorial, you can start creating your own projects with confidence. Remember to make use of expert tips and best practices to streamline your workflow and enhance your designs.
Ready to dive deeper? Explore more advanced features and join the Fusion 360 community to continue learning and growing as a designer. Happy designing!

