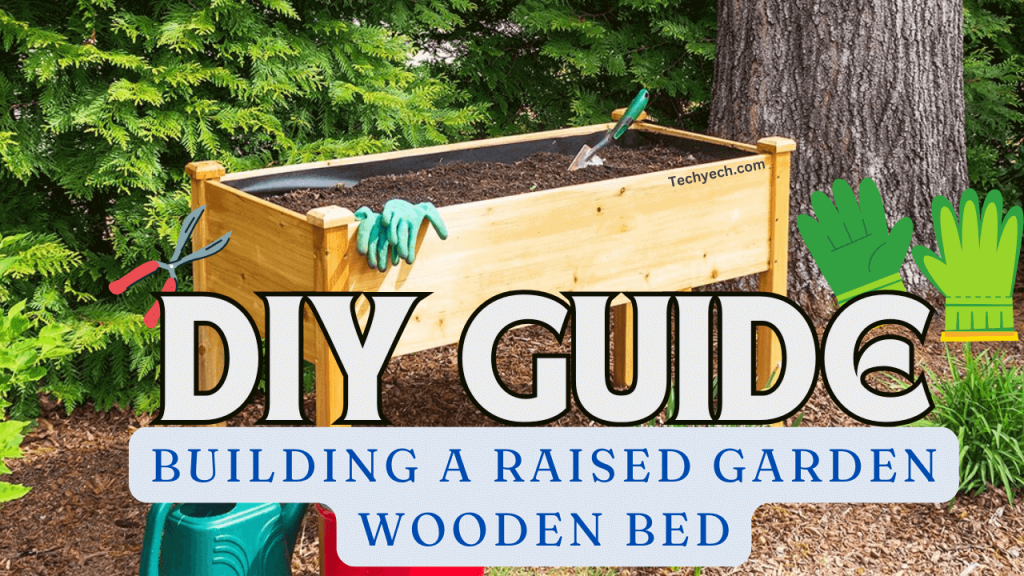
Are you ready to take your gardening skills to the next level? Build a raised garden bed with wood to add a touch of rustic charm to your outdoor space while also being practical. Follow this guide to build a beautiful and functional raised garden bed.
Want to grow your own vegetables or flowers but worried about space or soil quality? Raised garden beds are a fantastic way to boost your gardening game, and building one yourself is both rewarding and straightforward. This guide will walk you through every step of the process, from gathering materials to planting your first seed. But, first we should know why they are important and what are the benefits to build the same.
Why to Go with Raised Wooden Garden Bed?
In comparison to traditional in-ground gardens, raised garden beds offer a variety of benefits to home gardeners.
Poor soil quality is one of the major reasons people choose raised garden beds. Often, the soil in many areas is too rocky, sandy, or compacted for healthy plant growth. You can create an ideal growing environment for your plants by building a raised bed filled with nutrient-rich soil.
Furthermore, raised garden beds allow better drainage than ground-level gardens, which prevents excess water from pooling around your plants’ roots and rotting them. They also allow better soil aeration, which promotes healthy root growth.
Additionally, raised garden beds are easier to maintain. The elevated design means you don’t have to bend over as much while tending to your plants, which makes gardening more comfortable. People with mobility issues or back problems will benefit most from this.
Raised wooden garden beds are relatively low maintenance. They can be repaired or replaced if damaged, and a coat of sealant can extend their life.
Moreover, raised garden beds provide better control over the growing conditions for your plants. As a result, you can grow a wider range of plants that do not thrive in your native soil or climate because you control the quality and type of soil, as well as how much sunlight, water, and nutrients your plants receive.
With a little creativity and design (checkout this garden lights) knowledge, you can customize the look and layout of your raised garden bed to complement your home and personal style. Now, Let’s get going to know the things we need to build raised garden wooden bed.
You’ll Need the Following to Building a Raised Garden Bed with Wood
Materials
1. Pressure-treated lumber or cedar planks (2x4s or 4x4s for the frame, 1x6s for the sides)
2. Screws (2.5″ exterior grade)
4. Soil and compost
5. Plants or seeds
Optional: Corner brackets for extra stability; stain or sealant for finishing the wood
Tools
1. Power drill with screwdriver bits
2. Saw (circular or hand saw)
3. Measuring tape and carpenter’s square
4. Level
5. Staple gun
Optional: Corner clamps; paintbrush or roller if sealing or staining
Related Post: Safely Remove Carpenter Bees from Your Garden
Instructions in Step-by-Step Format to Build a Raised Garden Wooden Bed
1. The first step is to plan your space
Choose a sunny location for your garden bed, one that’s convenient for watering and maintenance. Measure and mark the area, keeping in mind the size you want – most people choose 4×4 feet or 8×4 feet.
2. The second step is to cut your lumber
Make sure your cuts are precise to ensure a stable and even structure. Cut the lumber to your chosen dimensions using your saw.
3. The third step is to build the frame
To ensure that the corners are perfect and everything is level, attach the corner posts (4x4s) to the frame boards (2x4s) with screws.
4. Add corner brackets (optional)
Install corner brackets at each corner of the frame for extra support. Screw them into place.
5. Attach the side boards in Step 5
To create a seamless look, cut the 1x6s to the right length and screw them onto the frame.
6. The sixth step is to install the weed barrier
Secure the weed barrier fabric with a staple gun along the bottom and sides of the frame.
7. Fill with soil and compost
Fill the bed with soil and compost, then level and spread it evenly.
8. The eighth step is to plant your garden
It’s time to plant! Follow your garden plan to plant seeds or seedlings, ensuring they have enough space to grow.
9. The ninth step is to water and mulch
Mulch on top can help retain moisture and prevent weeds in your new garden.
10. Finish with stain or sealant (optional)
Apply a stain or sealant using a brush or roller to protect your wood from the elements.
First and Foremost, Safety!
1. When handling materials and tools, wear gloves and eye protection.
2. Keep your workspace clutter-free and well-lit.
3. For power tools, follow the manufacturer’s instructions.
4. When cutting pressure-treated lumber, wear a dust mask.
5. When cutting wood, keep a firm grip on it.
6. After using your tools, store them safely.
Ideas for Customization
To make your garden bed truly yours, consider these options:
1. Build taller frames to make access easier or to accommodate plants with deeper roots.
2. You can add visual interest to your beds by experimenting with shapes other than rectangles – circular and tiered beds are great examples.
3. Integrate a trellis or lattice panels for climbing plants.
4. Level of skill
A DIY enthusiast can follow these simple steps with basic woodworking skills, making it a fun weekend project.
Make your own piece of gardening paradise now! Happy planting!


