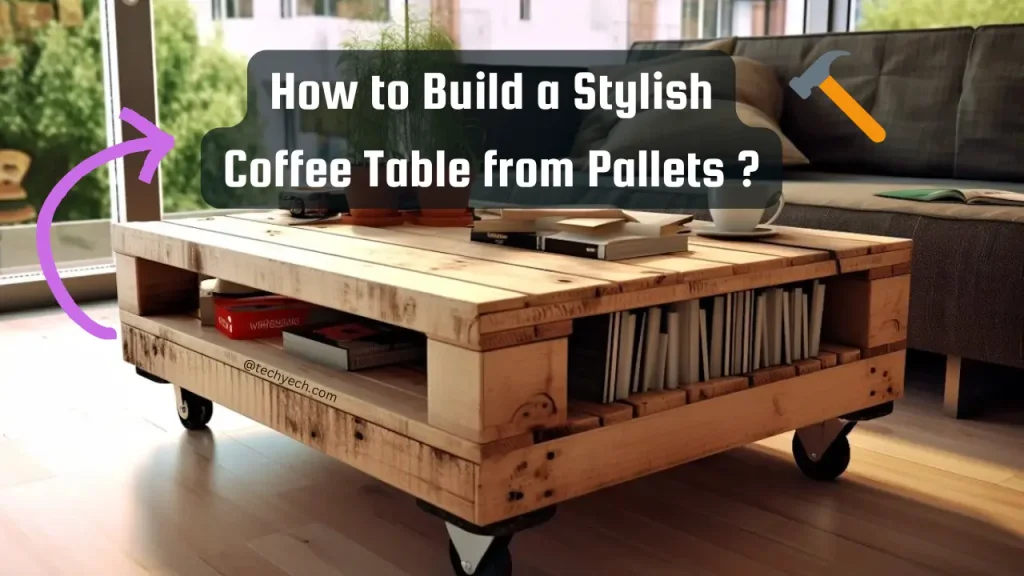
DIY enthusiasts and home decor lovers, this one’s for you! If you’ve been eyeing those chic, rustic pallet coffee tables on Pinterest, wondering how hard it would be to make one yourself, I’ve got good news—it’s easier than you think. And the best part? It’s budget-friendly, customizable, and super satisfying to create your very own centerpiece.
Think of it as turning “just wood” into “wow!” I’ve been there too—I wanted something stylish, but splurging at a furniture store wasn’t exactly in my plans. Enter the world of DIY magic with pallets.
Follow along, and I’ll walk you through how to build a coffee table from pallets step by step. By the time we’re done, you’ll have a conversation-starter piece to show off (and a cool DIY story to tell).
Why Build a Coffee Table from Pallets?
Pallet furniture has been making waves in the DIY world for good reason. It’s not just trendy—it’s also affordable, eco-friendly, and versatile. Wooden pallets are often discarded, which means you might be able to snag some for free from local stores or warehouses.
Plus, creating a coffee table out of pallets lets you put your own spin on it. Prefer a sleek Scandinavian vibe? You got it. Want something rustic to match your boho decor? Easy! And, hey, there’s something incredibly satisfying about sipping coffee on a table you built with your own hands.
Alright, ready to roll up your sleeves?
Also Check – How to Make a Raised Garden Bed with Wood
Materials You’ll Need
Here’s your ultimate shopping (or scavenging) list to get started. You might already have some of these at home!
Materials
- Wooden pallets (2 to 4, depending on your design)
- Sandpaper (medium to fine-grit)
- Wood screws
- Paint, stain, or wood varnish (optional for finishing touches)
Optional add-ons:
- Glass top for a polished look
- Casters (wheels) for mobility
Tools
- Power drill
- Saw (hand saw or jigsaw, depending on your design)
- Measuring tape
- Brush or roller for painting/staining
Pro-tip: Many local stores are happy to give away pallets—after all, it saves them the hassle of disposing of them. Be sure to inspect pallets for signs of wear, splinters, or damage before taking them home.
Step 1: Preparing the Pallets
Before we jump to the fun part (assembling), we need to make sure our wood is prepped and safe to use.
Clean Your Pallets
Pallets live rugged lives in warehouses—they’ve carried everything from cans of soda to heavy boxes. Start by scrubbing off dirt and grime with soapy water and letting the wood air dry completely.
Inspect for Damage
Check for splinters, rusty nails, or cracks. Remove any old nails with a pry bar and discard damaged planks.
Sand the Wood
Here’s where a little elbow grease comes in. Sanding is essential to smooth out rough edges and splinters. It not only makes your table safe to touch but also ensures a clean surface for painting or staining later. Trust me—don’t skip this part. Your hands (and coffee mugs) will thank you.
Step 2: Designing Your Coffee Table
This is where your creativity kicks in! Think about how you want your finished coffee table to look.
Single-Layer or Double-Layer?
- A single-layer design is minimalist and sleek.
- A double-layer design offers extra height and built-in storage.
Rustic or Refined?
- Leave the wood unfinished for that rustic charm.
- Add a glass top for a modern, polished vibe.
Pro-tip: Visualize the table in your living room. Will the dimensions fit? Take some measurements to ensure it’s the right size.
Also See – How to Make a Wind Vane at Home
Step 3: Assembling the Table
It’s time to bring your vision to life. I promise—it’s easier than it sounds!
Step-by-Step Assembly
- Arrange the Pallets: Stack them based on your design. For a double-layer table, position the pallets so the bottom one faces up (this creates a built-in shelf).
- Attach the Pallets: Use your drill and wood screws to secure the pallets together at the corners and along the edges.
- Optional Add-Ons: If you’re adding casters, attach them securely to the bottom corners to make your table mobile.
Now step back and admire your hard work—you’ve got the basic framework of your coffee table ready!
Step 4: Finishing Touches
Time to infuse some personality into your creation.
Paint or Stain
Do you want a natural look? Use a clear wood varnish to enhance the grain. Want a pop of color? Grab some paint to match your room’s decor.
For best results, apply two coats and follow up with a sealer to protect against wear and tear. A matte finish gives off a trendy, rustic feel, while glossy paint adds a modern aesthetic.
Step 5: Adding Final Details
This is where your coffee table goes from “DIY project” to “living room centerpiece.”
- Add a glass top for a refined appearance.
- Decorate with books, candles, small potted plants, or even a cute tray for organizing.
Your coffee table is now a reflection of you, so have fun with the details.
Your DIY Masterpiece Awaits
And there you have it—a custom coffee table that’s not just functional but oozes charm and personality. Building a coffee table out of pallets proves that DIY projects don’t have to be complicated or expensive to look incredible.
Plus, every time a guest compliments it, you get to say, “Thanks, I made it myself!” Now how rewarding is that?
Feel like sharing your masterpiece? Snap a photo and tag us on Instagram—we’d love to see your creations!


